

Introduction
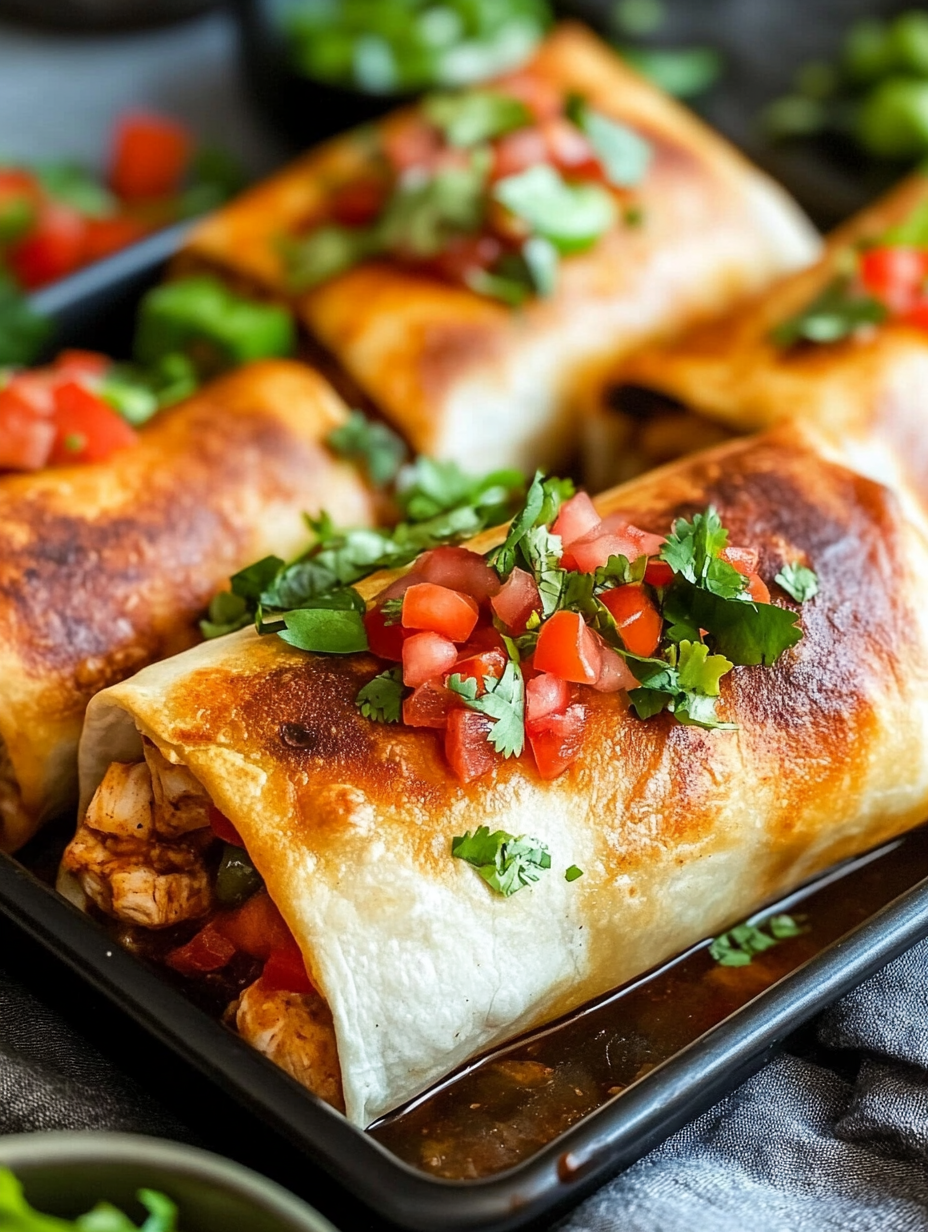
Welcome to the flavorful world of Sheet Pan Baked Chicken Chimichangas! If you’re looking for a delicious and crispy twist on a classic Mexican dish, you’ve come to the right place. In this recipe, we’ll show you how to make perfectly seasoned and mouth-watering chimichangas using the convenience of a sheet pan. Whether you’re cooking for a crowd or simply craving a satisfying meal, these baked chicken chimichangas will not disappoint.
Why You’ll Love This Recipe
There are plenty of reasons to fall in love with this recipe. First and foremost, the sheet pan method makes the chimichangas incredibly easy to prepare. No need to fry them in oil or worry about the mess – just pop them in the oven and let it do the work. Secondly, by baking instead of frying, you’ll achieve a healthier version without sacrificing any of the crispy texture or delicious flavor. Finally, these chicken chimichangas are incredibly versatile and can be customized to suit your taste buds. Add your favorite toppings, dips, or sauces to create a truly personalized culinary experience.
Ingredients
Before we dive into the step-by-step instructions, let’s gather all the ingredients you’ll need to make these mouthwatering sheet pan baked chicken chimichangas:
– 1 pound boneless, skinless chicken breasts
– 1 tablespoon olive oil
– 1 tablespoon chili powder
– 1 teaspoon ground cumin
– 1 teaspoon garlic powder
– 1 teaspoon onion powder
– 1/2 teaspoon salt
– 1/4 teaspoon black pepper
– 1/4 teaspoon cayenne pepper (optional, for an extra kick)
– 4 large flour tortillas
– 1 cup shredded Mexican cheese blend
– Optional toppings: sour cream, guacamole, salsa, chopped cilantro
Step-by-Step Instructions
Now that we have all our ingredients ready, let’s get started on making these delicious sheet pan baked chicken chimichangas:
- Preheat your oven to 425°F (220°C) and line a baking sheet with parchment paper.
- In a small bowl, combine the chili powder, ground cumin, garlic powder, onion powder, salt, black pepper, and cayenne pepper (if using). Mix well to create a flavorful seasoning blend.
- Place the chicken breasts on the prepared baking sheet and drizzle them with olive oil. Sprinkle the seasoning blend evenly over the chicken, making sure to coat both sides.
- Bake the chicken in the preheated oven for 20-25 minutes, or until it reaches an internal temperature of 165°F (74°C). Once cooked, remove the chicken from the oven and let it rest for a few minutes before shredding it with forks.
- Reduce the oven temperature to 375°F (190°C).
- Place one tortilla on a clean surface and spoon a generous amount of the shredded chicken onto the center of the tortilla. Sprinkle some shredded cheese on top.
- Fold the sides of the tortilla over the filling, then fold the bottom edge up and roll it tightly to form a chimichanga. Place the chimichanga seam-side down on the baking sheet. Repeat this process with the remaining tortillas and filling.
- Bake the chimichangas in the preheated oven for 15-20 minutes, or until they are golden brown and crispy.
- Once baked, remove the chimichangas from the oven and let them cool for a few minutes before serving.
Expert Tips for Success
Here are a few expert tips to ensure your sheet pan baked chicken chimichangas turn out perfectly:
– For extra flavor, marinate the chicken breasts in the seasoning blend for 1-2 hours before baking.
– If you prefer a spicier chimichanga, increase the amount of cayenne pepper in the seasoning blend.
– To make these chimichangas vegetarian-friendly, substitute the chicken with your favorite plant-based protein, such as tofu or black beans.
– If you don’t have parchment paper, you can lightly grease the baking sheet to prevent sticking.
Variations and Substitutions
Feel free to get creative and customize your sheet pan baked chicken chimichangas with these delicious variations:
– Swap out the flour tortillas for whole wheat tortillas for a healthier option.
– Add sautéed onions and bell peppers to the filling for an extra burst of flavor and texture.
– Experiment with different types of cheese, such as pepper jack or cheddar, to create unique flavor combinations.
– Substitute the chicken with cooked ground beef or shredded pork for a different twist.
Serving Suggestions
Now that your sheet pan baked chicken chimichangas are ready, it’s time to serve them up and enjoy! Here are a few serving suggestions to make the most of this delicious dish:
– Serve the chimichangas with a side of Mexican rice and refried beans for a complete and satisfying meal.
– Top the chimichangas with your favorite toppings, such as sour cream, guacamole, salsa, and chopped cilantro.
– Pair the chimichangas with a refreshing salad or a side of crispy tortilla chips and homemade salsa.
FAQs
Here are answers to some common questions you may have about sheet pan baked chicken chimichangas:
Can I make these chimichangas ahead of time?
Yes! You can assemble the chimichangas and refrigerate them for up to 24 hours before baking. Simply follow the recipe instructions until step 7, then cover the baking sheet with plastic wrap and refrigerate. When you’re ready to bake, remove the plastic wrap and bake as directed.
Can I freeze the baked chimichangas?
Absolutely! Once the chimichangas are baked and cooled, you can individually wrap them in plastic wrap or aluminum foil and freeze them for up to 3 months. To reheat, simply place the frozen chimichangas on a baking sheet and bake in a preheated oven at 375°F (190°C) for 25-30 minutes, or until heated through.
Can I use corn tortillas instead of flour tortillas?
While flour tortillas are traditionally used for chimichangas, you can certainly use corn tortillas if you prefer. Keep in mind that corn tortillas have a different texture and may require a shorter baking time to avoid becoming too crispy.
Final Thoughts
Sheet Pan Baked Chicken Chimichangas are a delightful twist on a beloved Mexican dish. By using the convenience and health benefits of sheet pan baking, you can enjoy crispy and flavorful chimichangas without the hassle of frying. The versatility of this recipe allows you to experiment with different fillings and toppings, making it a favorite for family dinners, parties, or even quick weeknight meals. So go ahead, give this recipe a try, and let your taste buds dance with joy!