
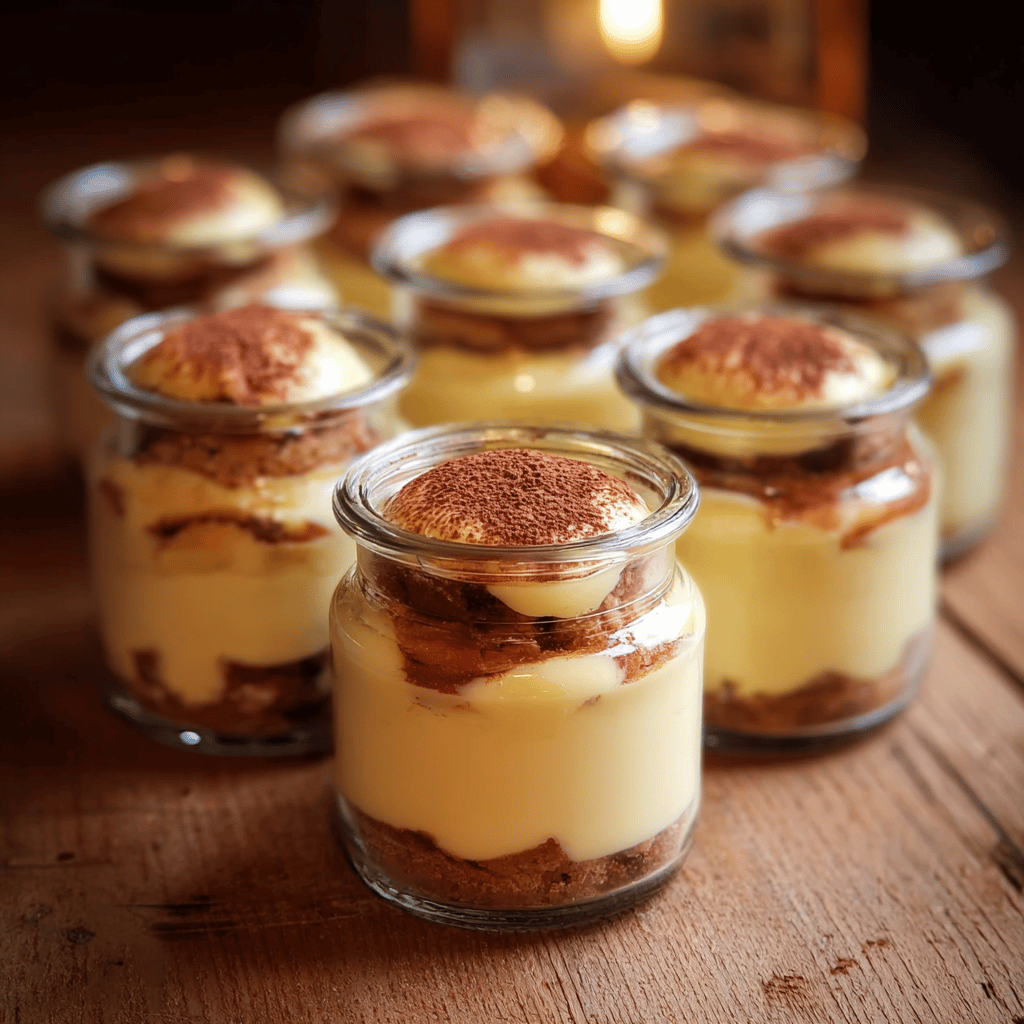
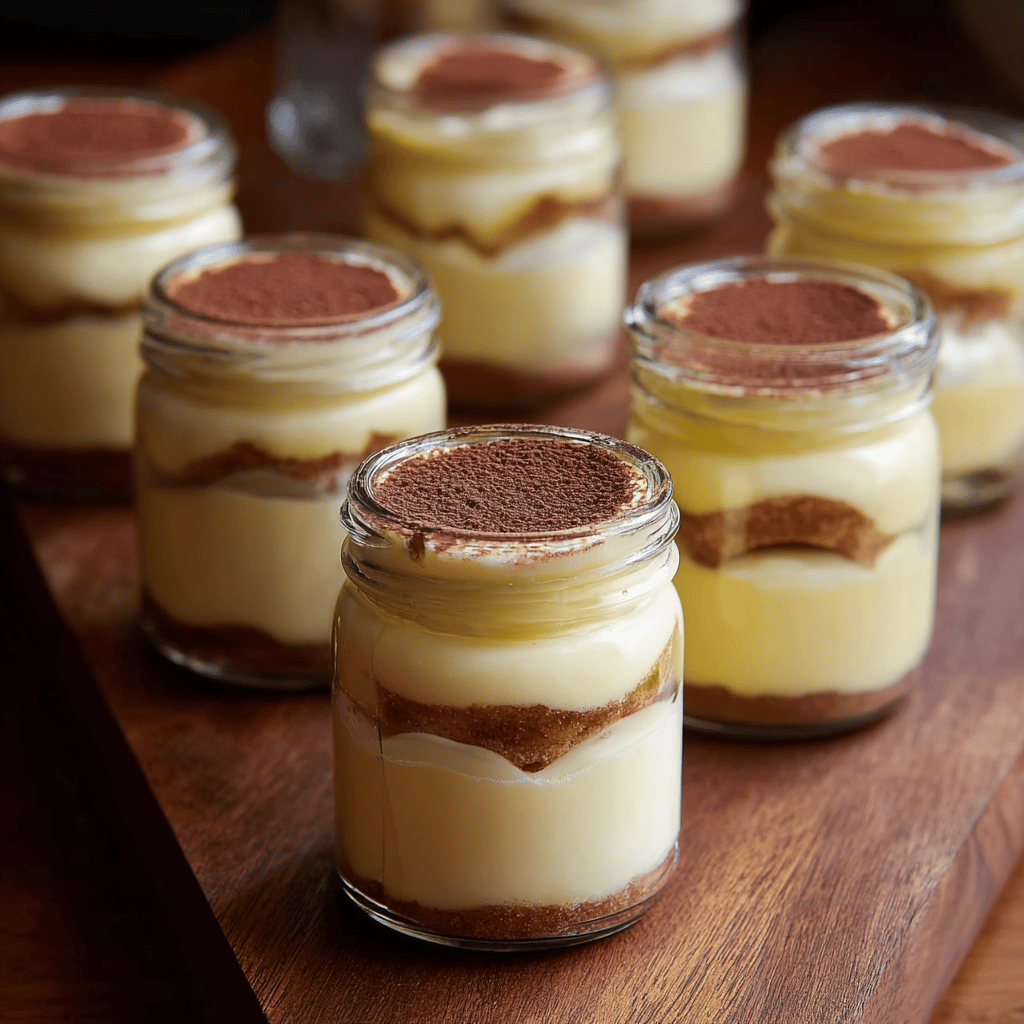
The first time I attempted mini tiramisu jars, let’s just say it was a bit of a flop. I mean, I was overconfident and thought, “How hard can it be?” Well, it turns out, getting those layers just right and balancing the flavors is an art. It took me a few tries (and a couple of very soggy disasters) to nail it. But here’s the thing, once I did, it was like unlocking a delicious secret. Now, I whip these up for every family get-together, and let me tell you, they’re a hit!
There’s something so satisfying about scooping through those creamy, coffee-laced layers and hitting the crumbly bite of ladyfingers at the bottom of a jar. And honestly, isn’t everything cuter in mini form? You know what? These little jars of happiness have become my signature dessert. So grab a spoon (and maybe an espresso), and let’s dive into making these delightful mini tiramisu jars together.
Table of Contents
Ingredients
Now, about those ingredients… I’ve learned it’s best not to skimp on quality, especially when it comes to the mascarpone (game changer!). Everything can be found at your local grocery store, though. Here’s what you’ll need:
- 1 cup espresso or strong coffee, cooled
- 2 tablespoons coffee-flavored liqueur (optional, but recommended)
- 1 cup heavy cream
- 1 cup mascarpone cheese (seriously, don’t substitute this one)
- 1/2 cup powdered sugar
- 1 teaspoon vanilla extract
- 24 ladyfingers
- Unsweetened cocoa powder, for dusting
- 6-8 small jars or glasses
Instructions
Okay, roll up your sleeves. It’s not hard, but you’ve got to be a bit precise. (I learned this the hard way when I ended up with a jar that was all cream and no ladyfingers—oops!)
- In a shallow dish, combine the cooled espresso with the coffee liqueur. Give it a little stir.
- Using an electric mixer, whip the heavy cream until stiff peaks form. Take your time here, you want it just right.
- In another bowl, blend the mascarpone with powdered sugar and vanilla extract until smooth and creamy.
- Gently fold the whipped cream into the mascarpone mixture until combined. This is where the magic happens!
- Quickly dip each ladyfinger into the coffee mixture. Don’t soak them! We’re talking a 1-second dip—trust me on this.
- Break the ladyfingers as needed and place a layer at the bottom of each jar.
- Spoon a layer of the mascarpone mixture over the ladyfingers.
- Repeat the layers until the jars are full, finishing with a mascarpone layer on top.
- Chill the jars in the refrigerator for at least 4 hours, or overnight if you can wait (the flavors meld beautifully this way).
- Just before serving, dust the tops with cocoa powder. It’s like the final touch on a masterpiece.
Tips & Tricks
So, a few insider tips for you. First off, I’ve found that using a cookie scoop for the mascarpone layers gives you that gorgeous, even distribution (and it feels fancy, to boot). Oh, and another tip—don’t even think about using instant coffee here. It’s all about that robust espresso flavor.
Now, let’s talk calories. Each jar has about 300-400 calories, depending on size and exact ingredients. I know, I know, but some things are just worth it, right?
If you’re looking to switch things up, there are some fun variations. Try using different types of cookies, or even flavored liqueurs. And substitutions? If you’re out of mascarpone (been there), you can use a mix of cream cheese and heavy cream, but it’s just not the same.
For storage, keep these beauties in the fridge. They’ll last a couple of days, but good luck having any left after the first 24 hours. If you’re prepping for an event, you can make them a day ahead, and honestly, they taste even better after they’ve had time to set.
Now, about troubleshooting. If your cream won’t whip, it might not be cold enough, or your bowl might be too warm. And if your ladyfingers are too soggy, you’re dunking them for too long. A quick dip is all they need. Remember, we’re going for elegant, not mushy.
FAQ
Got questions? I’ve got answers! Here are a few common ones:
Q: Can I make these without the coffee liqueur?
A: Absolutely! The liqueur adds depth, but you can leave it out and still have delicious tiramisu jars.
Q: How long will these last in the fridge?
A: They’re best consumed within 48 hours, but trust me, they rarely last that long!
Q: Can I freeze mini tiramisu jars?
A: I wouldn’t recommend it. The texture changes once thawed, and with tiramisu, texture is everything.
As the final touch, let me share a little cultural story. Tiramisu means “pick me up” in Italian, and that’s exactly what these jars do. I remember my Italian nonna making a huge dish of tiramisu for special occasions, and now, I carry on that tradition in my own way. Every time I unscrew the lid of a jar, it’s like a little nod to her and the love she put into her cooking.
So there you have it, your own little jar of joy. Whether you’re making these for a fancy dinner party or just a Tuesday night treat, mini tiramisu jars are sure to impress. Now go on, give them a try and spread the tiramisu love!

Mini Tiramisu Jars
Delightful mini tiramisu jars featuring layers of creamy mascarpone mixture, coffee-dipped ladyfingers, and a dusting of cocoa powder.
Ingredients
- 1 cup espresso or strong coffee, cooled
- 2 tablespoons coffee-flavored liqueur
- 1 cup heavy cream
- 1 cup mascarpone cheese
- 1/2 cup powdered sugar
- 1 teaspoon vanilla extract
- 24 ladyfingers
- Unsweetened cocoa powder, for dusting
- 6-8 small jars or glasses
Directions
-
In a shallow dish, combine the cooled espresso with the coffee liqueur. Stir.
-
Using an electric mixer, whip the heavy cream until stiff peaks form.
-
In another bowl, blend the mascarpone with powdered sugar and vanilla extract until smooth and creamy.
-
Gently fold the whipped cream into the mascarpone mixture until combined.
-
Quickly dip each ladyfinger into the coffee mixture for 1 second.
-
Break the ladyfingers as needed and place a layer at the bottom of each jar.
-
Spoon a layer of the mascarpone mixture over the ladyfingers.
-
Repeat the layers until the jars are full, finishing with a mascarpone layer on top.
-
Chill the jars in the refrigerator for at least 4 hours or overnight.
-
Just before serving, dust the tops with cocoa powder.