
Introduction
Have you ever craved the perfect combination of rich, fudgy brownies and creamy cheesecake? Look no further than these indulgent Brownie Bottom Mini Cheesecakes. This delightful dessert combines the best of both worlds, creating a heavenly treat that is sure to satisfy your sweet tooth.
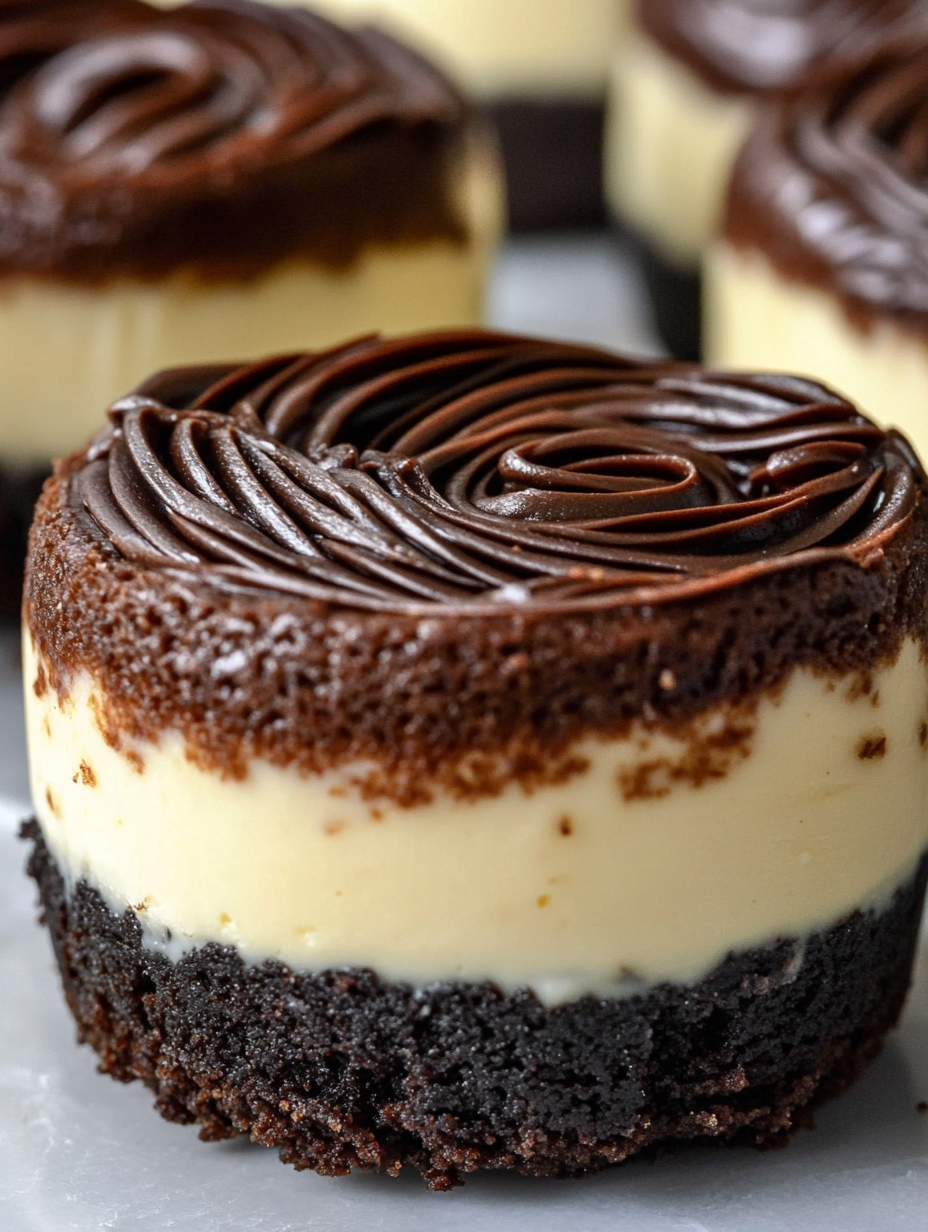
What makes this recipe truly special is the way the brownie layer forms a decadent base for the creamy cheesecake layer on top. With each bite, you’ll experience a harmonious blend of flavors and textures that will leave you craving more.
With its origins dating back to the early 20th century, the Brownie Bottom Mini Cheesecake recipe has become a beloved classic in the world of desserts. It has been passed down through generations, bringing joy and delight to countless families and friends.
Why You’ll Love This Recipe
There are many reasons why you’ll fall in love with these Brownie Bottom Mini Cheesecakes:
1. Irresistible Combination: The combination of rich, chocolatey brownies and creamy cheesecake is simply irresistible. Each bite offers a delightful contrast of flavors and textures that will leave you craving more.
2. Easy and Quick: This recipe is surprisingly easy and quick to make. With just a few simple ingredients and minimal prep time, you can whip up a batch of these mini cheesecakes in no time.
3. Perfectly Portioned: The individual serving size of these mini cheesecakes makes them perfect for parties, gatherings, or simply indulging yourself. They are easy to serve and ensure that everyone gets their own delectable treat.
4. Versatile and Customizable: While the classic Brownie Bottom Mini Cheesecake recipe is divine on its own, you can also get creative and customize it to your liking. Add toppings like caramel sauce, nuts, or fresh berries to take it to the next level.
Ingredients
For the brownie layer, you will need:
– 1/2 cup unsalted butter
– 1 cup granulated sugar
– 2 large eggs
– 1 teaspoon vanilla extract
– 1/3 cup unsweetened cocoa powder
– 1/2 cup all-purpose flour
– 1/4 teaspoon salt
For the cheesecake layer, you will need:
– 8 ounces cream cheese, softened
– 1/4 cup granulated sugar
– 1 large egg
– 1/2 teaspoon vanilla extract
Optional toppings:
– Caramel sauce
– Chopped nuts
– Fresh berries
Step-by-Step Instructions
1. Preheat your oven to 350°F (175°C) and line a muffin tin with paper liners.
2. In a microwave-safe bowl, melt the butter. Add the sugar, eggs, and vanilla extract, and mix well.
3. In a separate bowl, whisk together the cocoa powder, flour, and salt. Gradually add the dry ingredients to the wet ingredients, stirring until just combined.
4. Spoon the brownie batter into the lined muffin tin, filling each cup about halfway.
5. In a mixing bowl, beat the cream cheese, sugar, egg, and vanilla extract until smooth and creamy.
6. Spoon the cheesecake mixture on top of the brownie batter in each cup, filling it almost to the top.
7. Bake for 18-20 minutes or until the cheesecakes are set and the edges are slightly golden.
8. Remove from the oven and let them cool in the muffin tin for 10 minutes. Then transfer them to a wire rack to cool completely.
9. Once cooled, refrigerate for at least 2 hours to allow the cheesecakes to set.
10. Serve the Brownie Bottom Mini Cheesecakes as is, or top them with caramel sauce, chopped nuts, or fresh berries for added flavor and visual appeal.
Expert Tips for Success
1. Room Temperature Ingredients: Ensure that the cream cheese and eggs are at room temperature before starting. This will result in a smoother and creamier cheesecake layer.
2. Avoid Overmixing: When combining the brownie batter ingredients, mix until just combined. Overmixing can result in a denser texture.
3. Use Good Quality Cocoa Powder: For the best chocolate flavor, choose a high-quality unsweetened cocoa powder.
4. Allow for Cooling and Chilling Time: While it may be tempting to dig in right away, allowing the cheesecakes to cool and chill in the refrigerator will enhance their flavor and texture.
Variations and Substitutions
Here are a few variations and substitutions to try:
– Peanut Butter Swirl: Drop spoonfuls of peanut butter onto the cheesecake layer and swirl it with a toothpick before baking.
– Mint Chocolate: Add a few drops of peppermint extract to the cheesecake mixture for a refreshing twist.
– Gluten-Free Option: Substitute the all-purpose flour with a gluten-free flour blend for a gluten-free version.
Serving Suggestions
These Brownie Bottom Mini Cheesecakes are delicious on their own, but you can elevate the experience by serving them with a few complementary sides:
– Vanilla ice cream: Top each mini cheesecake with a scoop of creamy vanilla ice cream for a decadent dessert.
– Fresh berries: Serve the cheesecakes with a side of fresh berries, such as strawberries or raspberries, for a burst of freshness.
– Coffee or tea: Pair these indulgent treats with your favorite hot beverage for a delightful combination of flavors.
FAQs
Q: Can I make these ahead of time?
A: Yes, you can make these mini cheesecakes ahead of time. Simply store them in an airtight container in the refrigerator for up to 3 days.
Q: Can I freeze these cheesecakes?
A: Absolutely! These mini cheesecakes freeze well. Place them in a freezer-safe container or zip-top bag and store them in the freezer for up to 3 months. Thaw them in the refrigerator before serving.
Q: Can I use a different type of chocolate for the brownie layer?
A: While the recipe calls for unsweetened cocoa powder, you can experiment with different types of chocolate, such as dark chocolate or milk chocolate, for a variation in flavor.
Final Thoughts
Indulge in the heavenly combination of rich brownies and creamy cheesecake with these irresistible Brownie Bottom Mini Cheesecakes. With their fudgy brownie base and luscious cheesecake layer, they are a true delight for any dessert lover. Whether you’re hosting a party or simply treating yourself, these mini cheesecakes are the perfect sweet treat. Get creative with toppings and variations to make them your own. So go ahead, give this recipe a try, and let the decadence begin!