
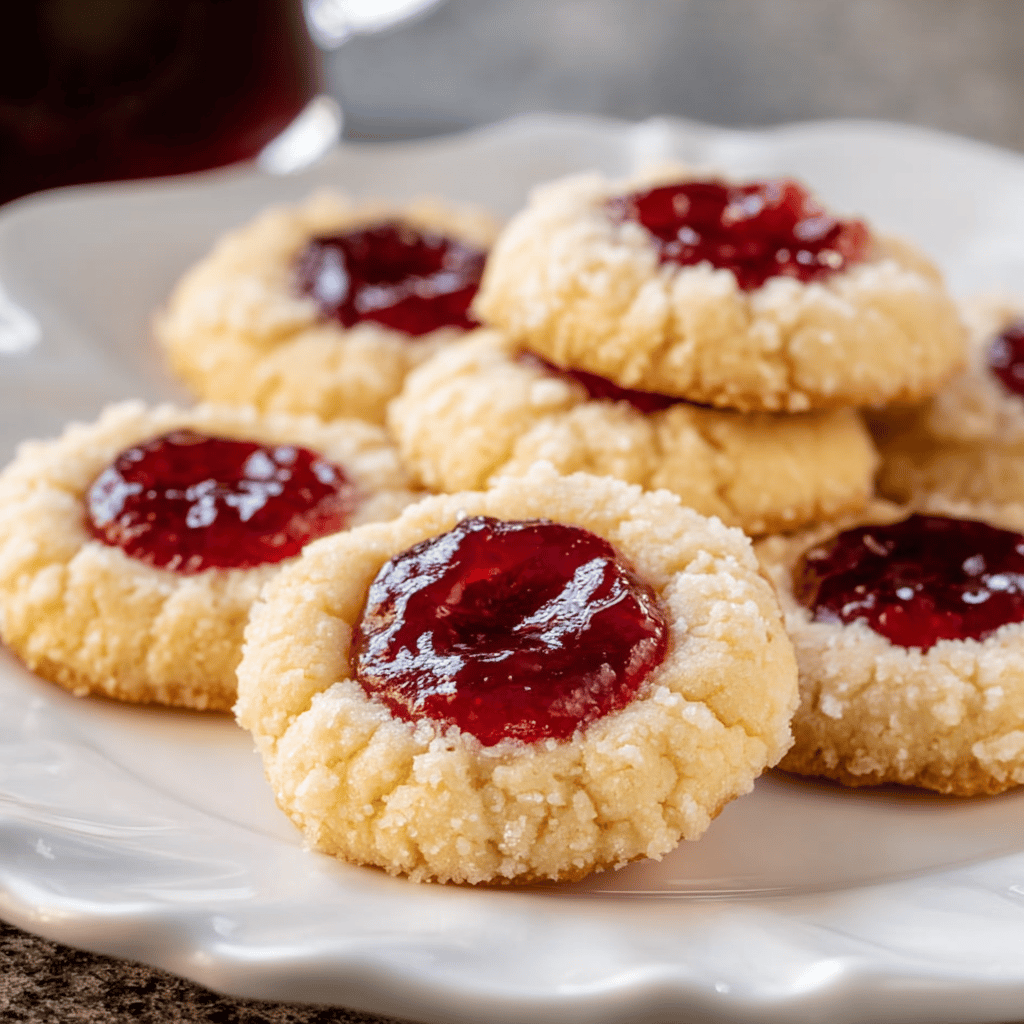
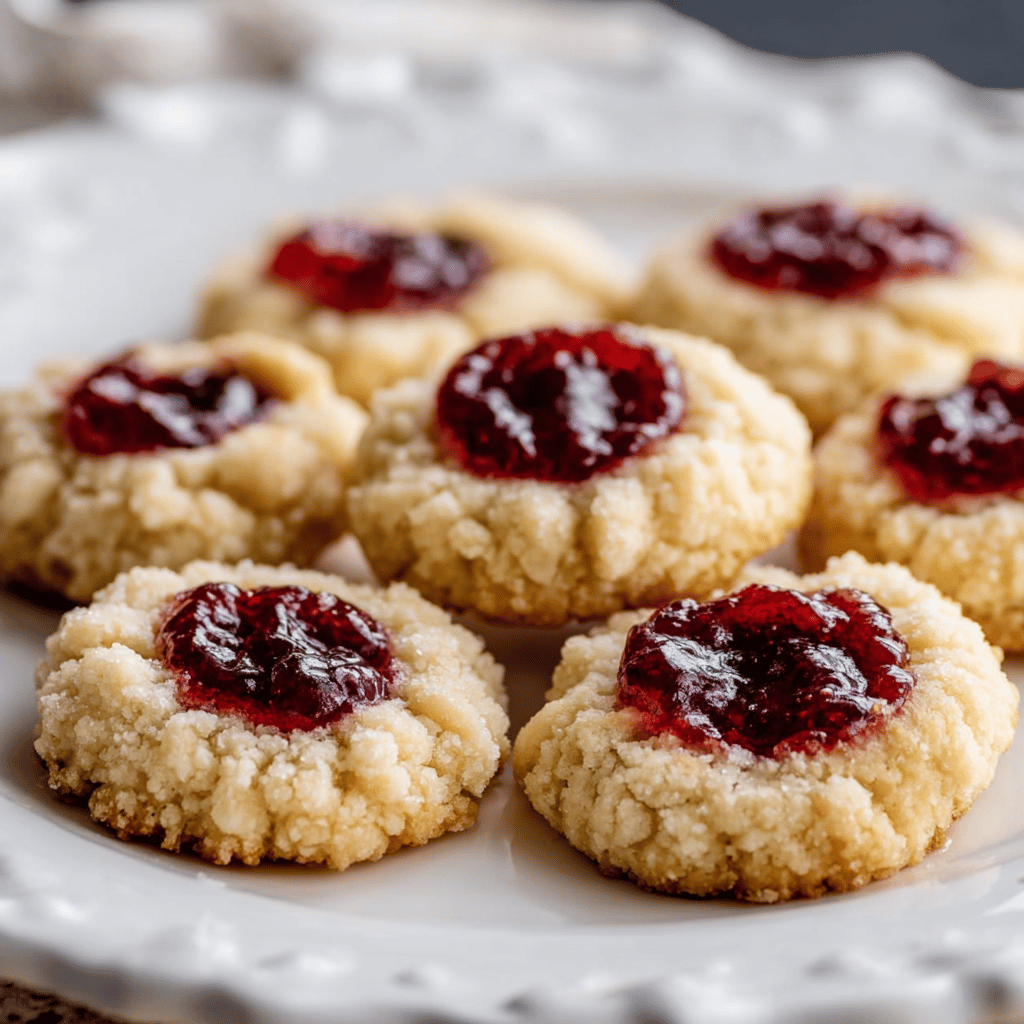
There’s a special kind of magic in the kitchen when the scent of butter and sugar mingles in the air, and that’s precisely what happens when I make Buttery Jam Thumbprint Cookies. The first time I attempted these, let’s just say the kitchen looked like a flour bomb had gone off. But, the sweet, buttery victory was worth every messy counter (and floor… and shirt).
My kids hover near the oven, eyes wide with anticipation, as they watch these little gems bake to golden perfection. And you know what? It’s not just about the cookies. It’s about those little thumbprints—tiny imprints of love, filled with the ruby red jam that my grandma used to make from scratch. Now, let me walk you through making these delightful treats that have been a family favorite for generations.
Table of Contents
Ingredients
Now, about those ingredients… I once used margarine instead of butter, and let’s just say, it’s not the same. Stick to the good stuff for these cookies, will you? Nothing beats real butter here. (learned this the hard way)
- 2 cups all-purpose flour
- 1/2 teaspoon baking powder
- 1/4 teaspoon salt
- 1 cup unsalted butter, softened (trust me on this)
- 2/3 cup sugar, plus more for rolling
- 2 large egg yolks
- 1 teaspoon pure vanilla extract
- 1/2 cup your favorite jam (my go-to is raspberry)
Instructions
Let’s dive in, shall we? And remember, baking is part science, part art, and all heart. So don’t stress if they’re not perfect on your first go.
- Preheat your oven to 350°F (180°C). Line a baking sheet with parchment paper.
- In a bowl, whisk together flour, baking powder, and salt.
- In another bowl, cream the butter and sugar until light and fluffy. Beat in the egg yolks and vanilla.
- Gradually mix in the dry ingredients until just combined.
- Roll the dough into 1-inch balls, then roll each ball in sugar to coat.
- Place the balls on the prepared baking sheet and press your thumb into the center of each to make a well.
- Spoon a small amount of jam into each thumbprint.
- Bake for 12-15 minutes or until the edges are golden. Don’t overbake, or they’ll lose that dreamy texture.
- Let them cool on the baking sheet for a few minutes, then transfer to a wire rack to cool completely.
Tips & Tricks
These cookies are deceptively simple, but here’s the thing: the details matter. Here are some tips that I swear by.
- Use room temperature butter for easier creaming. (I can’t stress this enough)
- Don’t go wild with the jam; too much, and it’ll overflow and make a sticky mess.
- Rolling the dough in sugar isn’t just for sweetness; it provides a delightful crunch.
- And please, let them cool before diving in. I’ve burnt my tongue more times than I’d like to admit.
Now, let’s talk calories. Each cookie is roughly 80-100 calories, depending on the size and how generous you are with the jam. But honestly, who’s counting when they taste this good?
And if you need to make substitutions (we’ve all been there), you can use gluten-free flour or coconut sugar. Just know the texture might change a bit, but they’ll still be scrumptious.
For storage, keep them in an airtight container at room temperature for up to a week. They never last that long in my house, though. (the kids devour them)
Variations? Oh, the possibilities are endless! Try different jams, add a drizzle of glaze, or even a sprinkle of chopped nuts. Make these cookies your canvas.
The cultural story behind these cookies is as rich as their flavor. In Sweden, they’re called ‘Hallongrotta’, which means raspberry cave, and in America, they’re a beloved holiday treat. But no matter where you’re from, they represent comfort, family, and the joy of sharing.
FAQ
Got questions? I’ve got answers. And don’t worry; I’ve probably asked these myself at some point.
Q: Can I freeze the dough?
A: Absolutely! Roll it into balls and freeze. When you’re ready to bake, just add a couple of minutes to the baking time.
Q: What if my thumbprints puff up during baking?
A: Just use the back of a teaspoon to gently re-indent them as soon as they come out of the oven. (I do this all the time)
Q: Can I use salted butter?
A: You can, but then skip the added salt. The cookies might be a tad saltier, but hey, sweet and salty is a winning combo!
In conclusion, Buttery Jam Thumbprint Cookies are more than just a treat; they’re a tiny, edible reminder of warmth and togetherness. So, preheat that oven, get your thumbs ready, and create some delicious memories. And who knows? Maybe one day, you’ll be sharing your own tips and tricks for the perfect batch of these buttery delights. Happy baking!

Buttery Jam Thumbprint Cookies
These Buttery Jam Thumbprint Cookies are a delightful treat filled with love and nostalgia. Soft buttery cookies with a sweet jam center are perfect for any occasion.
Ingredients
- 2 cups all-purpose flour
- 1/2 teaspoon baking powder
- 1/4 teaspoon salt
- 1 cup unsalted butter, softened
- 2/3 cup sugar, plus more for rolling
- 2 large egg yolks
- 1 teaspoon pure vanilla extract
- 1/2 cup raspberry jam
Directions
-
Preheat your oven to 350°F (180°C). Line a baking sheet with parchment paper.
-
In a bowl, whisk together flour, baking powder, and salt.
-
In another bowl, cream the butter and sugar until light and fluffy. Beat in the egg yolks and vanilla.
-
Gradually mix in the dry ingredients until just combined.
-
Roll the dough into 1-inch balls, then roll each ball in sugar to coat.
-
Place the balls on the prepared baking sheet and press your thumb into the center of each to make a well.
-
Spoon a small amount of jam into each thumbprint.
-
Bake for 12-15 minutes or until the edges are golden. Don't overbake.
-
Let them cool on the baking sheet for a few minutes, then transfer to a wire rack to cool completely.