
Introduction
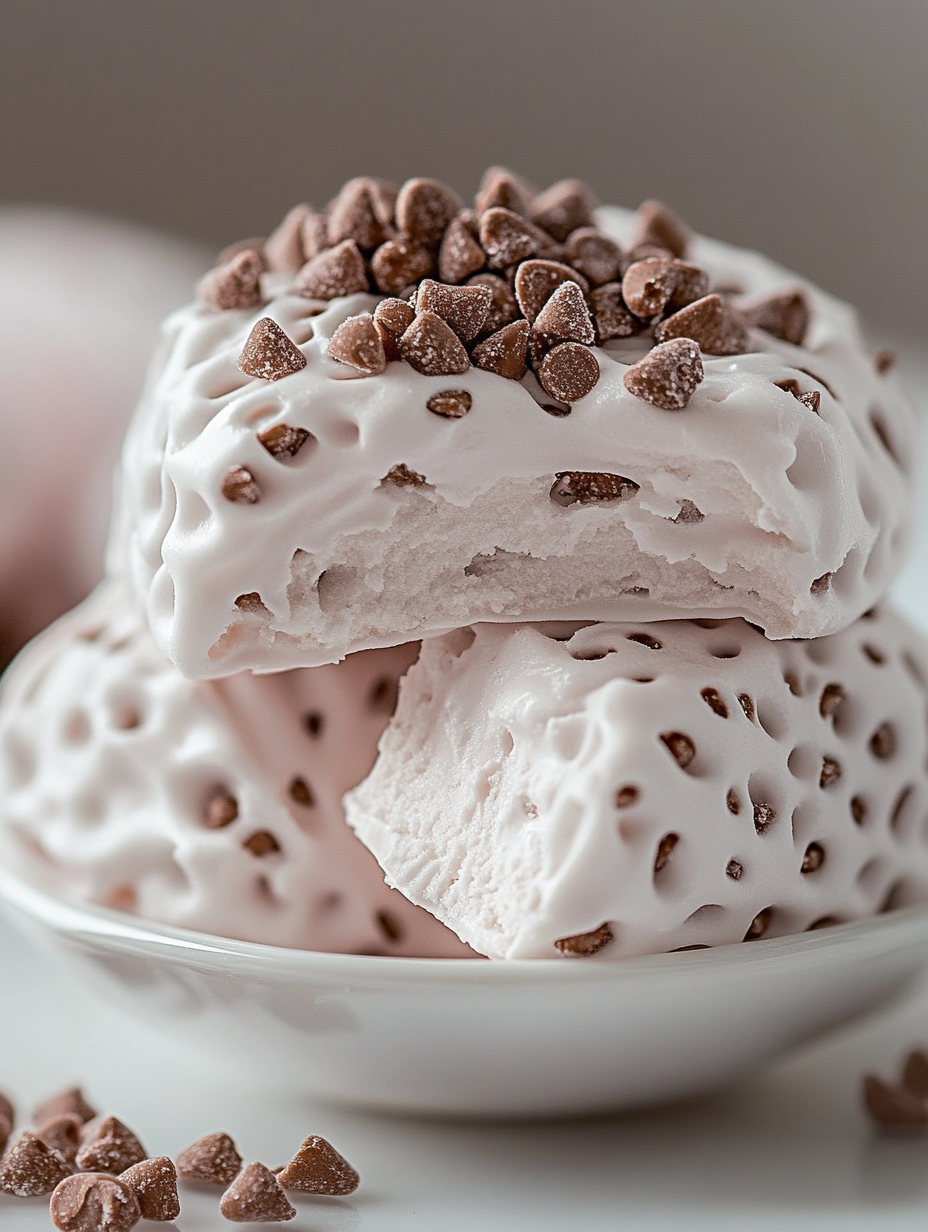
Cool Whip Candy is a delightful treat that combines the creaminess of Cool Whip with the sweetness of candy. This recipe is perfect for those who have a sweet tooth and love experimenting with different flavors. Whether you’re looking for a quick and easy dessert to satisfy your cravings or want to impress your guests with a homemade treat, Cool Whip Candy is the answer. In this article, we will explore the steps to create this delectable candy, along with some variations, serving suggestions, and expert tips for success.
Why You’ll Love This Recipe
There are several reasons why you’ll fall in love with Cool Whip Candy:
1. Easy and Quick: With just a few simple ingredients, you can whip up this candy in no time. It requires minimal effort, making it perfect for those last-minute dessert cravings.
2. Creamy and Fluffy: Cool Whip gives this candy a light and airy texture, making it incredibly satisfying to bite into. It melts in your mouth, leaving behind a burst of sweetness.
3. Versatile: You can experiment with different flavors to create your own unique versions of Cool Whip Candy. From chocolate to fruit extracts, the possibilities are endless.
4. Homemade Goodness: Making candy from scratch is always a rewarding experience. By creating Cool Whip Candy at home, you can enjoy the satisfaction of indulging in something you’ve made with your own hands.
Ingredients
To make Cool Whip Candy, you will need the following ingredients:
– 2 cups of Cool Whip
– 1 cup of powdered sugar
– 1 teaspoon of vanilla extract
– Food coloring (optional)
– Candy flavoring (optional)
Step-by-Step Instructions
Follow these simple steps to create your own Cool Whip Candy:
1. In a mixing bowl, combine the Cool Whip, powdered sugar, and vanilla extract. Mix well until all the ingredients are fully incorporated.
2. If desired, add a few drops of food coloring to achieve the desired color for your candy. Mix until the color is evenly distributed.
3. For additional flavor, you can also add candy flavoring to the mixture. This will give your candy a unique and delicious taste.
4. Line a baking dish with parchment paper or aluminum foil. This will make it easier to remove the candy once it’s set.
5. Pour the mixture into the prepared baking dish and spread it evenly using a spatula.
6. Place the dish in the refrigerator and let it chill for at least 2 hours, or until the candy is firm.
7. Once the candy has set, remove it from the refrigerator and cut it into bite-sized pieces using a sharp knife or cookie cutters.
8. Serve and enjoy your homemade Cool Whip Candy!
Expert Tips for Success
Here are some expert tips to help you achieve the best results with your Cool Whip Candy:
– Make sure the Cool Whip is thawed before using it in the recipe. This will ensure a smooth and creamy texture.
– Sift the powdered sugar before adding it to the Cool Whip. This will prevent any lumps and ensure a smooth mixture.
– If you’re adding food coloring, start with a small amount and gradually add more until you reach the desired color intensity.
– When adding candy flavoring, start with a small amount and taste the mixture before adding more. Some flavorings can be quite potent, so it’s best to add them gradually.
– For a fun twist, you can sprinkle some colored sugar or edible glitter on top of the candy before refrigerating it.
Variations and Substitutions
While the classic Cool Whip Candy is delicious on its own, you can get creative and try different variations:
– Chocolate Cool Whip Candy: Add 1/4 cup of cocoa powder to the mixture for a rich chocolatey flavor.
– Fruity Cool Whip Candy: Replace the vanilla extract with fruit extracts such as strawberry, raspberry, or lemon for a burst of fruity goodness.
– Nutty Cool Whip Candy: Stir in chopped nuts such as almonds, pecans, or peanuts to add a crunchy texture to your candy.
– Mint Cool Whip Candy: Add a few drops of mint extract and green food coloring to create a refreshing minty treat.
Serving Suggestions
Cool Whip Candy is best enjoyed chilled and can be served in various ways:
– Serve it as a standalone dessert at parties or gatherings.
– Use it as a topping for cakes, cupcakes, or ice cream sundaes.
– Sprinkle it over bowls of fresh fruit for an extra touch of sweetness.
– Package it in decorative boxes or bags to give as homemade gifts.
FAQs
Q: Can I use homemade whipped cream instead of Cool Whip?
A: Yes, you can substitute homemade whipped cream for Cool Whip. Just make sure the whipped cream is stabilized with gelatin or another thickener to maintain the candy’s shape.
Q: How long can I store Cool Whip Candy?
A: Cool Whip Candy can be stored in an airtight container in the refrigerator for up to 1 week.
Q: Can I freeze Cool Whip Candy?
A: It is not recommended to freeze Cool Whip Candy as it can alter the texture and consistency of the candy.
Final Thoughts
Cool Whip Candy is a delightful, easy-to-make treat that will satisfy your sweet tooth. With its creamy texture and endless flavor possibilities, it’s sure to become a favorite among both kids and adults. Whether you enjoy it on its own or use it as a topping, Cool Whip Candy is a versatile and delicious dessert option. So why not give this recipe a try and indulge in a little homemade goodness?
We hope you enjoy making and savoring this delightful Cool Whip Candy!
Cool Whip Candy
Cool Whip Candy is a delightful treat that combines the creaminess of Cool Whip with the sweetness of candy. It is a light and airy dessert that melts in your mouth, offering a burst of sweetness. This recipe is quick and easy to make, allowing you to experiment with different flavors and create your own unique versions of this delectable candy.
Ingredients
- 2 cups Cool Whip
- 1 cup powdered sugar
- 1 teaspoon vanilla extract
- Food coloring (optional)
- Candy flavoring (optional)
Directions
-
In a mixing bowl, combine the Cool Whip, powdered sugar, and vanilla extract. Mix well until fully incorporated.
-
If desired, add a few drops of food coloring and mix until evenly distributed.
-
Add candy flavoring for additional taste.
-
Line a baking dish with parchment paper or aluminum foil.
-
Pour the mixture into the prepared dish and spread evenly.
-
Refrigerate for at least 2 hours until firm.
-
Cut into bite-sized pieces and serve.